↳ may contain affiliate links — disclosure
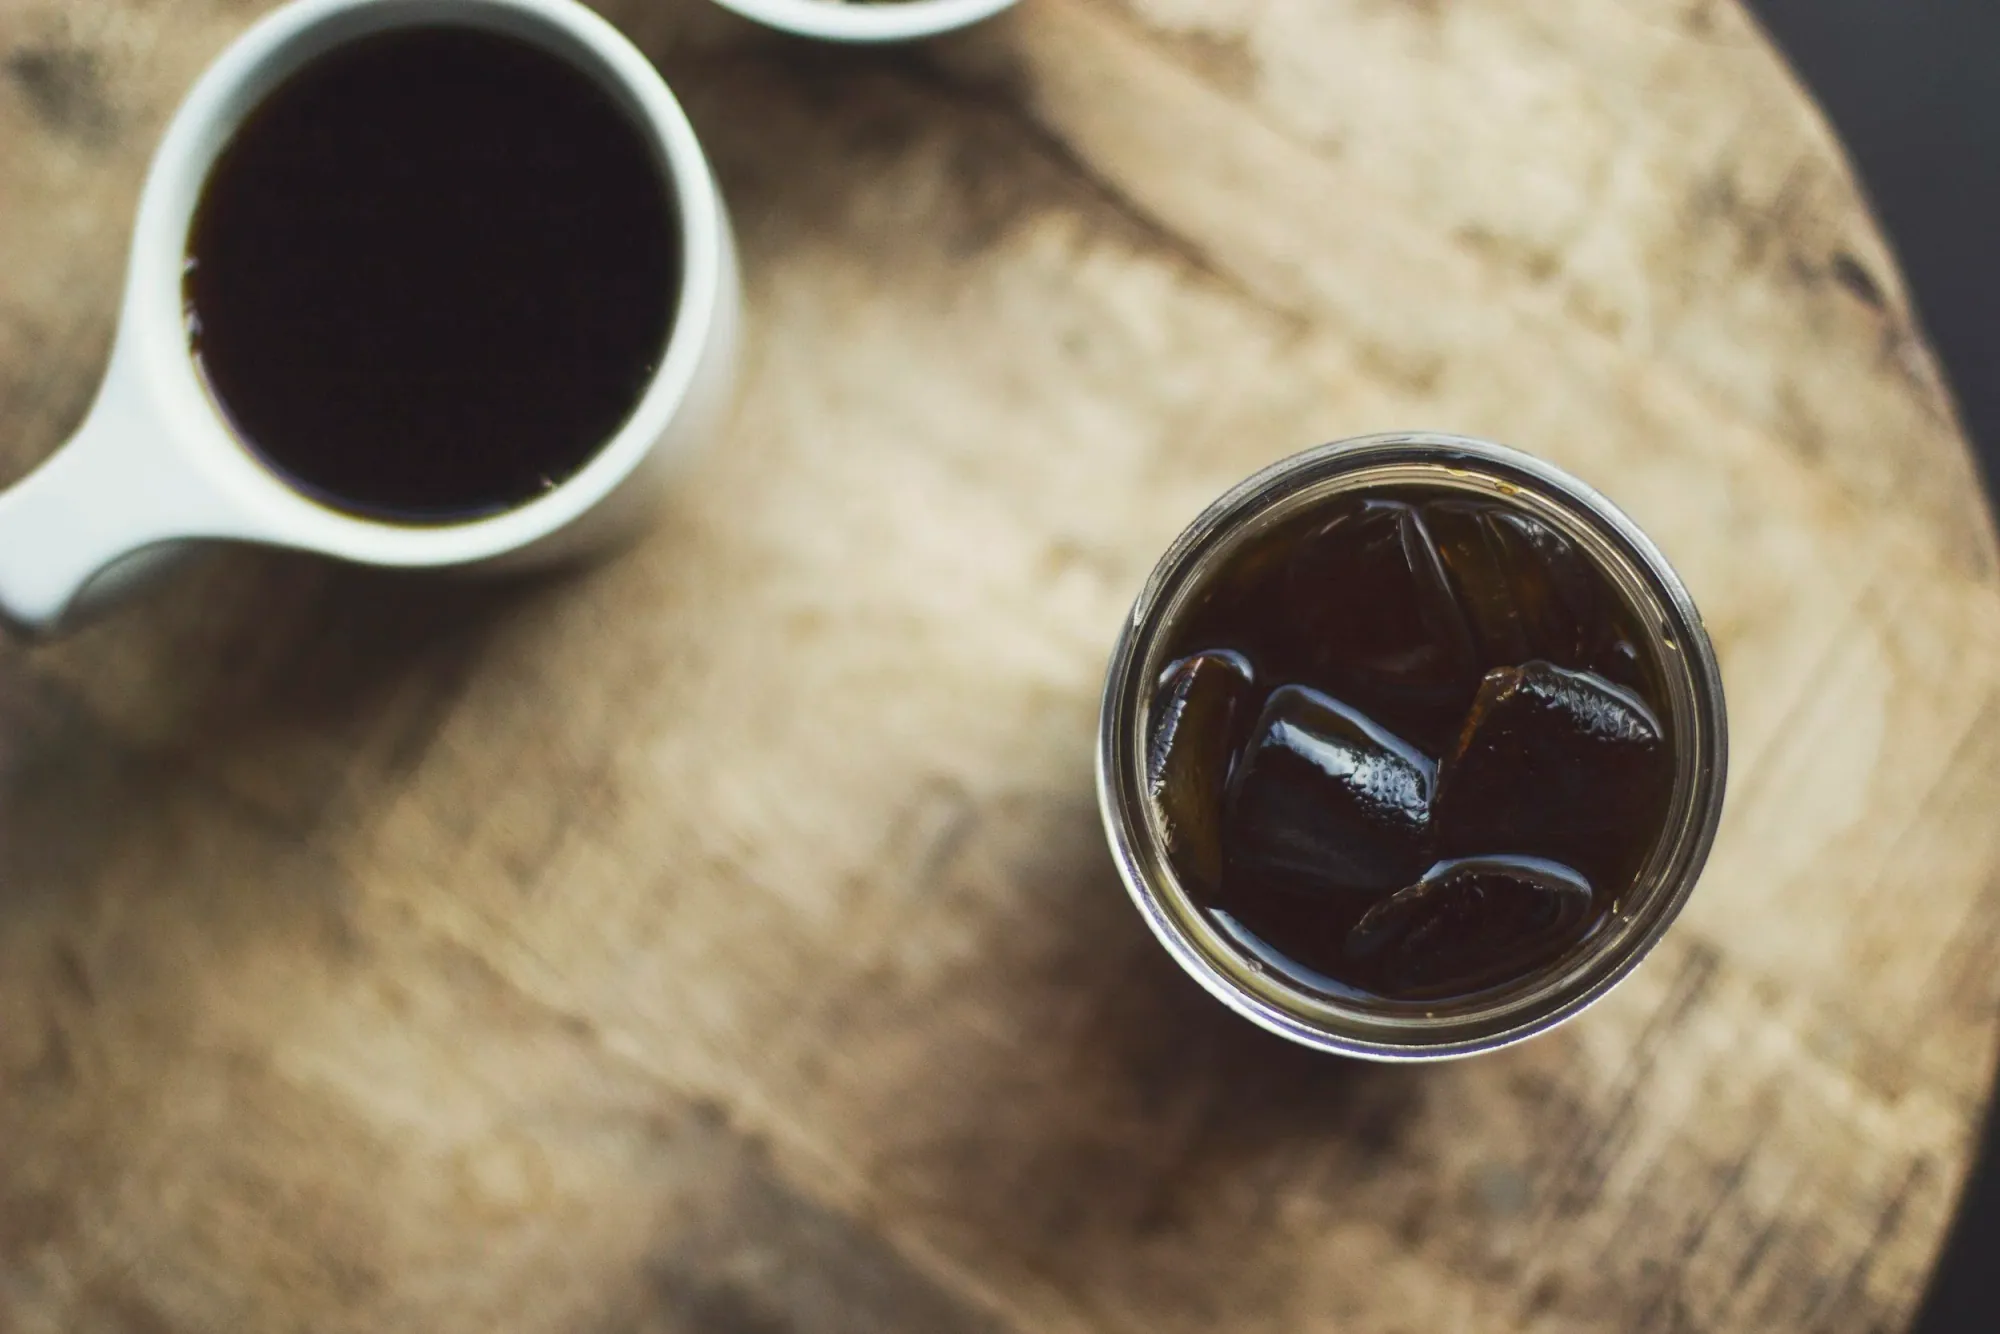
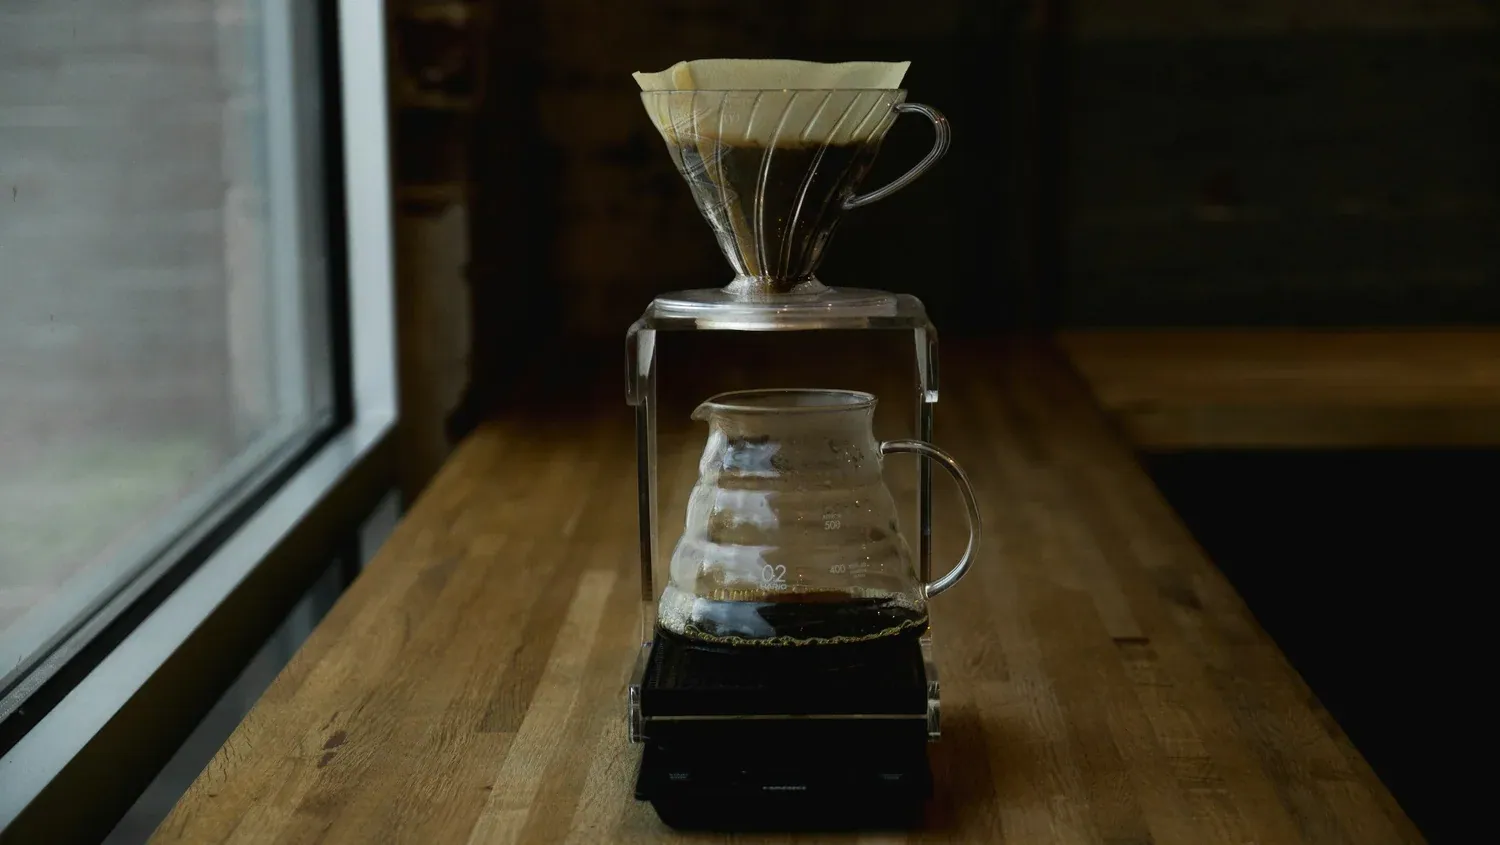
Photo by @__matthoffman__
There’s a reason cold brew has taken over café menus everywhere.
It’s smooth, naturally sweet, and packed with refreshing flavor—perfect for warm days or any time you crave something crisp and caffeinated.
But here’s the kicker: you don’t need a fancy coffee shop to enjoy it.
In fact, with a few simple steps, you can make cold brew right in your own kitchen, no barista skills required.
And trust me, once you nail it, you’ll wonder why you ever paid $5 for a cup.
This is everything you need to know—from beans to brew time to the gear that’ll make all the difference.
Why Cold Brew is Different (and Why You’ll Love It)
Unlike regular iced coffee (which is just hot coffee poured over ice), cold brew is steeped in cold water for a long time—usually between 12 to 24 hours.
This slow brewing method makes the coffee less acidic, giving it that trademark smoothness.
Research from Thomas Jefferson University shows that while the pH levels of cold and hot coffee are similar, cold brew typically has lower titratable acidity, meaning fewer acidic compounds are extracted.
This makes cold brew gentler on the stomach, which is a big reason why many people prefer it over hot coffee.
Step-by-Step Guide: Making Cold Brew Coffee at Home
What You’ll Need:
- Coffee beans (we’ll get into the best beans in a bit)
- A grinder (preferably a burr grinder for a consistent coarse grind)
- A large jar or pitcher (mason jars work great)
- A coffee filter or fine mesh sieve
- Cold water
Step 1: Choose the Right Beans
The beans are where it all starts.
For cold brew, I recommend opting for medium to dark roast beans.
Why? These beans tend to have bold, chocolatey, and nutty flavors that really shine when brewed cold.
Plus, darker roasts naturally have lower acidity, which enhances the smoothness that cold brew is famous for.
You can experiment with different origins, but Colombian and Ethiopian beans are popular for cold brew because of their balanced and rich flavors.
Pro tip: Go for whole beans and grind them yourself. Pre-ground coffee can be too fine, resulting in a muddy brew. Plus, grinding fresh beans makes all the difference in taste. Aim for a coarse grind, similar to breadcrumbs. This ensures a cleaner extraction and prevents over-brewing.
Step 2: The Coffee-to-Water Ratio
For a strong, concentrated cold brew, stick to a 1:4 ratio of coffee to water.
That means, for every 1 cup of coarsely ground coffee, you’ll need about 4 cups of cold water.
If you want to make a larger batch, just scale up.
The beauty of cold brew is that you can dilute it later if it’s too strong, but you can’t fix a weak batch.
Step 3: Combine Coffee and Water
In your jar or pitcher, mix the ground coffee with cold, filtered water.
Stir gently to ensure all the grounds are saturated.
Now, here’s where the magic happens—cover the container and let it sit at room temperature for 12-24 hours.
Yes, that long! The slow steeping process is what gives cold brew its rich, smooth flavor, so don’t rush it.
If you’re a fan of stronger coffee, go for the full 24 hours.
If you prefer something a little lighter, you can start tasting around the 12-hour mark to find your sweet spot.
Step 4: Strain Your Brew
After steeping, it’s time to separate the grounds from the liquid.
You can do this by pouring the mixture through a coffee filter, a fine-mesh sieve, or a special cold brew maker that does the filtering for you.
If you’re using a filter, go slow to avoid clogging—those fine coffee particles can be sneaky.
Once strained, you should have a smooth, concentrated cold brew.
Store it in the fridge for up to a week, though it’ll likely disappear much sooner.
Step 5: Serve It Up
Cold brew concentrate is typically quite strong, so feel free to dilute it to your liking.
A 1:1 ratio of cold brew to water or milk works for most people, but if you like a bolder flavor, you can skip the dilution altogether.
Pour it over ice, add your favorite creamer or syrup, and enjoy!
The Best Coffee Beans for Cold Brew
When it comes to cold brew, not all beans are created equal.
While any coffee bean can technically work, certain varieties will give you better results.
-
Medium to Dark Roast: These are your best bet. The roasting process brings out oils and rich flavors like chocolate, nuts, and caramel that really pop in cold brew.
-
Single-Origin Beans: Beans from regions like Colombia, Brazil, and Ethiopia are ideal because they offer balanced flavors with hints of fruit, chocolate, or spices. Ethiopian Yirgacheffe, for instance, can give your cold brew a bright, fruity undertone, while a Brazilian bean might offer a smoother, nuttier experience.
-
Pre-Ground vs. Whole Bean: Always opt for whole beans and grind them just before brewing. Freshness is key, and pre-ground coffee can lose its aroma and depth of flavor quickly. Plus, you’ll have more control over the grind size.
Brewing Times: How Long is Too Long?
The sweet spot for cold brew is between 12 and 24 hours, but this depends on your personal taste.
Steeping for 12 hours will give you a lighter, fruitier brew, while the 24-hour mark produces a stronger, more robust flavor.
However, be careful not to exceed 24 hours, as research suggests that too long of a steep can result in over-extraction, leading to a bitter brew.
The Essential Equipment
You don’t need much to make cold brew at home, but a few tools will make your life easier:
-
A Burr Grinder: Coarse grind is key, and a burr grinder will give you the most consistent results.
-
Cold Brew Maker: There are plenty of affordable cold brew makers out there that come with built-in filters, like the Takeya or Toddy systems. These are great if you plan on making cold brew regularly.
-
A Large Mason Jar or Pitcher: A simple jar or pitcher works just as well. As long as it holds your coffee and water, you’re good to go.
Final Thoughts: Why Cold Brew is Worth the Effort
Yes, it takes a bit of planning (and patience) to make cold brew, but the payoff is huge.
You get to wake up to a smooth, flavorful cup of coffee that’s already made and waiting for you in the fridge.
Plus, its lower acidity makes it gentler on the stomach compared to hot coffee, making it an excellent choice for those sensitive to acidity.
Cold brew is endlessly customizable, too—add ice, mix in some oat milk, or even try it with a splash of vanilla syrup.
Once you start making it at home, you won’t want to go back to store-bought.
References
- Thomas Jefferson University Research on Cold Brew Acidity
- ScienceDaily Summary of Cold Brew Research
- Cold Brew Coffee Acidity and Antioxidant Activity - The Nexus
- Cold Brew Coffee vs. Hot Brew: Sciworthy
- Variables Affecting Antioxidants in Coffee - MDPI
Related Posts
5 Genius Features That Make the Fellow Aiden Worth the Price
Discover why coffee enthusiasts are raving about the Fellow Aiden’s game-changing features, from precise temperature control to automated pour-over perfection. Learn how this revolutionary coffee maker justifies its premium price tag.

Guide to Coffee Brewing Methods
A comprehensive guide to the various methods of brewing coffee at home (drip, French press, pour-over, espresso, etc.).

Both the Hario V60 and Chemex have earned loyal followings, and for good reason. They’re icons in the specialty coffee scene, offering distinct flavors and experiences, but with their own unique quirks.