My Hario V60 Pour-Over Experience
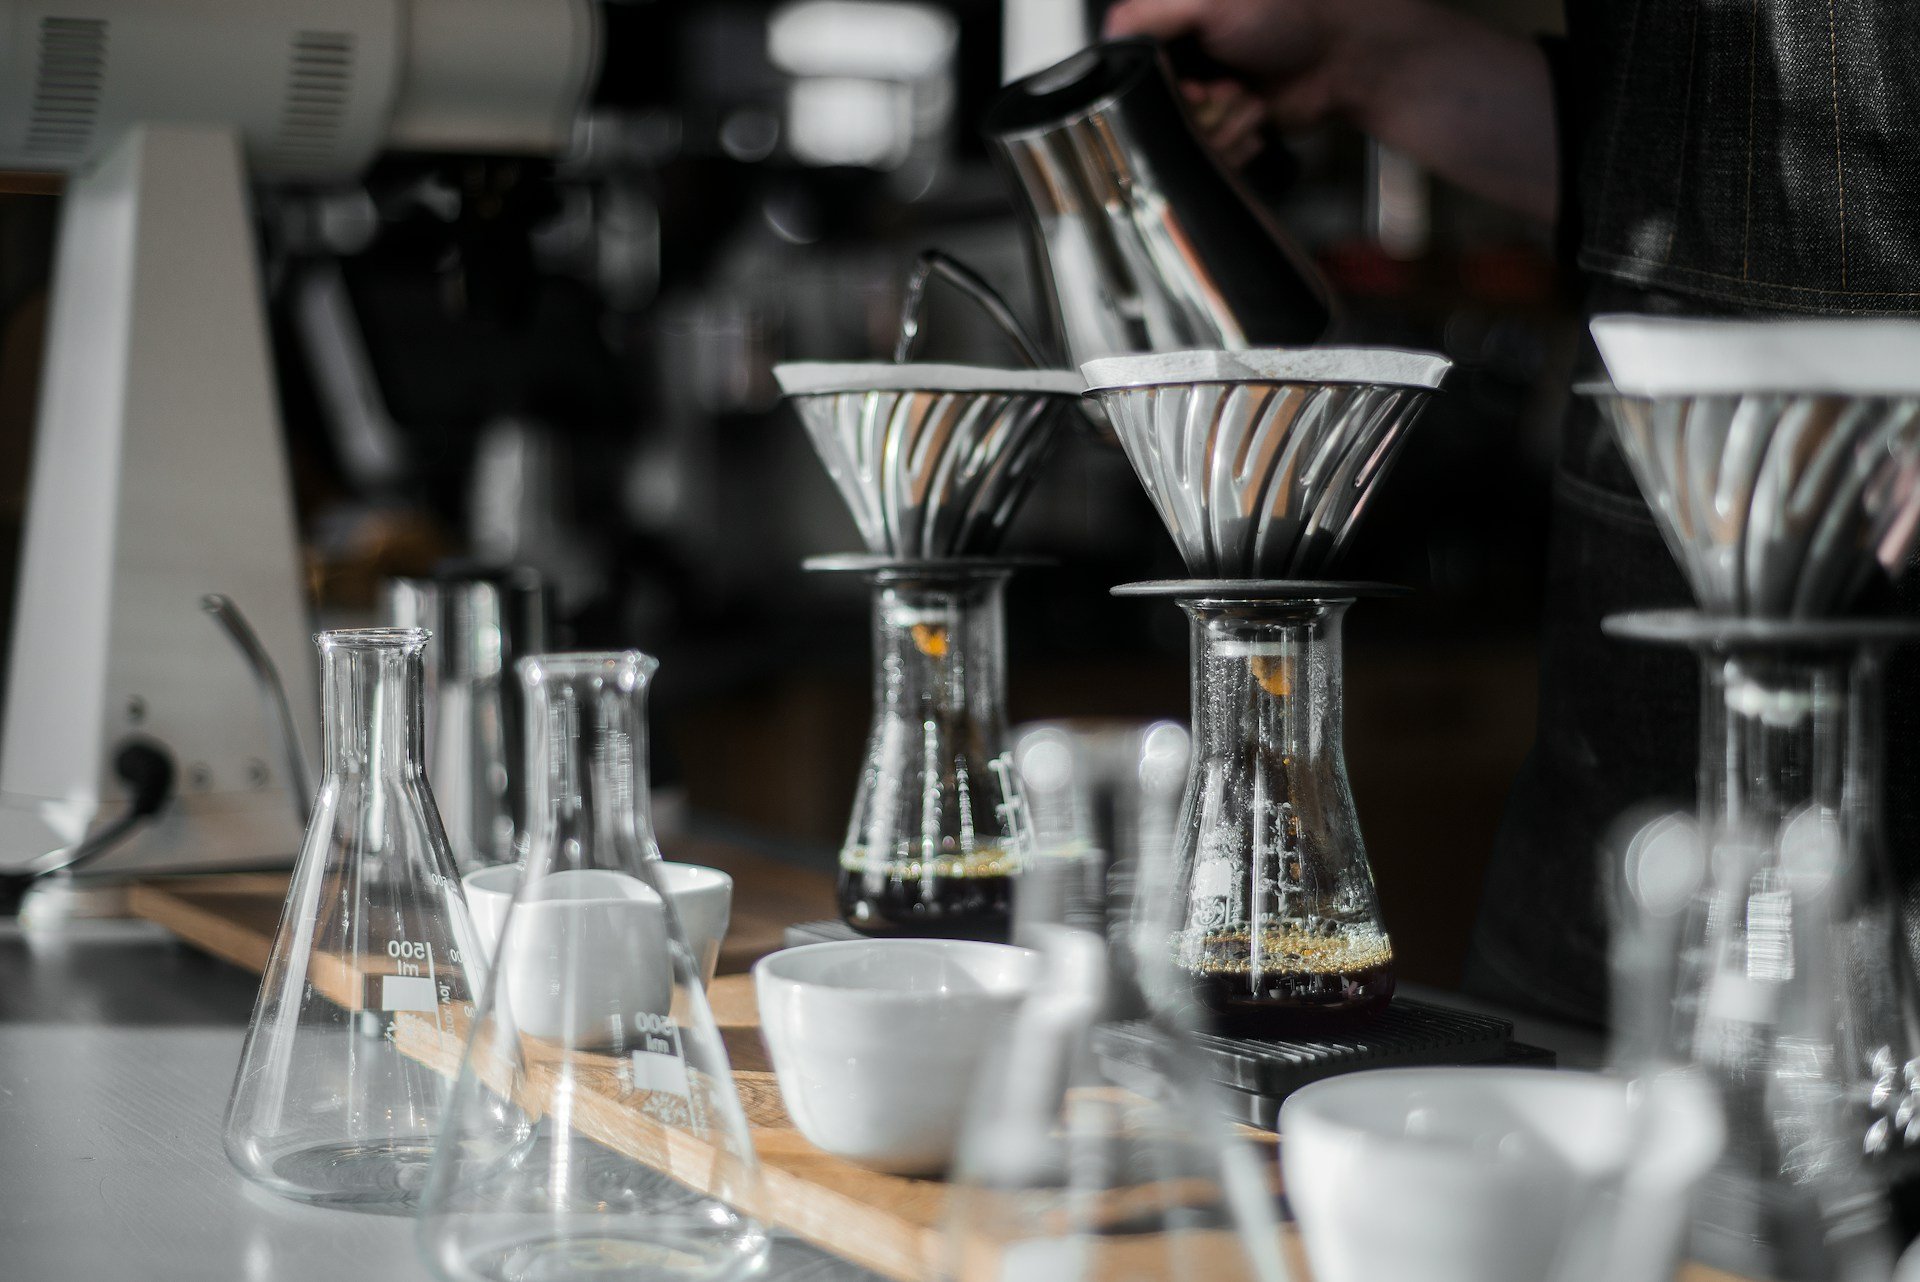
Photo by @waleij
Exploring the Hario V60
Introduction to Hario V60
Ah, the Hario V60. For anyone serious about coffee, it’s not just another gadget—it’s an experience.
This iconic dripper is designed with purpose, from its 60-degree angle that channels water toward the middle to its wide opening that allows you to control the flow of water and brewing time.
The V60’s spiral ribs help ensure even extraction, allowing you to craft your perfect cup.
Born from Hario’s roots in laboratory glassware and coffee syphons, the V60 has become a staple in the pour-over world since its debut in 2004.
Available in ceramic, glass, plastic, or metal, each material offers a unique brewing experience.
Whether you prefer the durability of plastic for on-the-go brewing or the aesthetic of a glass dripper on your counter, there’s a V60 for every coffee lover (European Coffee Trip).
Why the Hario V60 Stands Out
The V60 isn’t just about making coffee—it’s about creating a cup with complexity and character.
Here’s what makes it special:
Flavor Clarity and Body: The V60 delivers a cup that’s as clean as it is complex. Its thin filter allows just enough oils to pass through, highlighting bright and nuanced flavors, whether it's the citrus notes of an Ethiopian or the chocolatey undertones of a Colombian. Every sip feels like it tells a story.
Customizable Brewing: With the V60, you’re in control. From grind size to water temperature, every variable is up to you. Whether you want your coffee bold enough to get you through a long day or light and bright for a morning pick-me-up, this dripper lets you tweak your brew to perfection.
Design and Material Variety: The V60 doesn’t make you settle on one style. It comes in several materials, each with its own set of benefits and personality:
| Material | Benefits | Considerations |
|---|---|---|
| Ceramic | Excellent heat retention, sturdy | Heavier, can break |
| Glass | Elegant, good heat retention | Fragile, heavy |
| Plastic | Lightweight, travel-friendly | May stain over time |
| Metal | Durable, heats quickly | More expensive, heat dissipates faster |
Ready to step up your coffee game?
Grab a V60, and you’ll be on your way to brewing a cup that’s as memorable as it is flavorful.
For tips on filters, check out our Hario V60 filters, or explore some unique Hario V60 recipes to take your pour-over skills to the next level.
Brewing with the Hario V60
Mastering the V60 isn’t just about following a recipe—it’s about connecting with your coffee.
Here’s how I’ve refined my process to get the best brew possible.

The Right Grind and Water Temperature
To get the most out of your V60, you’ll want to dial in your grind size and water temperature.
Aim for a medium-coarse grind—something similar to sea salt.
If you’re using a Baratza Encore grinder, setting it around 16 is a good starting point.
Temperature is key.
Too hot, and you’ll scorch the delicate flavors; too cool, and the coffee will taste flat.
I recommend sticking between 195-205°F.
A kettle with a built-in thermometer can help you hit that sweet spot consistently.
| Element | Ideal Setting |
|---|---|
| Grind Size | Medium-coarse (like sea salt) |
| Water Temperature | 195-205°F (90-96°C) |
Step-by-Step Guide to Brewing with the V60
Here’s my tried-and-true method for brewing a perfect cup with the V60:
Prep Your Gear: You’ll need the Hario V60 dripper, a filter, freshly ground coffee, a gooseneck kettle, and a scale. Set everything up so it’s within arm’s reach.
Rinse the Filter: Place a Hario V60 filter in your dripper, then rinse it with hot water to remove any papery taste. This also preheats your dripper and carafe, ensuring that your coffee stays hot throughout the brewing process.
Measure and Grind: For a single cup (250g of water), I typically use 15-20g of coffee. The 1:15 to 1:17 coffee-to-water ratio is a great starting point, but feel free to adjust based on how strong you like your brew.
The Bloom: Pour about 70g of hot water over the coffee grounds, just enough to saturate them evenly. Let it sit for 30-45 seconds—this allows the coffee to bloom, releasing trapped gases for a cleaner, more flavorful extraction.
Pour in Phases: After the bloom, slowly pour the rest of your water in controlled, circular motions. Add water in 50-100g increments, ensuring all the grounds are evenly saturated.
Wait and Swirl: Once your water is added and the coffee has fully brewed (this takes about 2-3 minutes), give the carafe a gentle swirl to mix the flavors. Pour yourself a cup and enjoy!
| What to Do | Recommended Steps |
|---|---|
| Coffee Amount | 15-20g for 250g water |
| Bloom Time | 30-45 seconds |
| Pouring Technique | Circular motions, in small phases |
| Total Brew Time | 2-3 minutes |
For more detailed recipes and brewing hacks, check out our Hario V60 recipes.
Mastering the Hario V60 Technique
Using the V60 is about more than just following a method—it’s about fine-tuning every detail to suit your taste.
Key Brewing Variables
Brew Ratio: The typical ratio is 1:15—20g of coffee for 300g of water. Adjust this depending on whether you want a stronger or lighter brew.
Grind Setting: A medium to medium-fine grind is ideal. Too coarse, and the water rushes through, leaving your coffee under-extracted. Too fine, and you’ll end up with a bitter brew.
Water Temperature: Stick to 195-205°F. Anything outside this range can leave your coffee tasting burnt or dull.
Brew Time: Aim for a total brew time of 2.5 to 3.5 minutes. Adjust this based on the flavor—too fast, and your coffee will be sour; too slow, and it may taste over-extracted.
| Variable | Ideal Range |
|---|---|
| Brew Ratio | 1:15 (coffee to water) |
| Grind Size | Medium to medium-fine |
| Water Temp | 195-205°F |
| Brew Time | 2.5 to 3.5 minutes |
Fine-tuning your technique is part of the journey.
I like to keep a journal of my brew adjustments, noting how changes in grind size or water temperature affect the flavor.
It’s a great way to consistently improve your coffee over time.
Enhancing Your V60 Experience
Must-Have Accessories
Elevate your V60 brewing with these tools:
Filters: The right filter makes all the difference. I stick with Hario V60 filters for their ability to enhance clarity and brightness.
Gooseneck Kettle: Precision pouring is a must with the V60. A gooseneck kettle lets you control the flow and ensures even saturation.
Scale: A digital scale helps you maintain consistent ratios for a balanced cup every time.
Thermometer: Keep a thermometer handy to make sure your water is in the ideal range (195-205°F). This will make or break your brew.
Experimenting with Beans
The V60 is versatile enough to bring out the best in a wide variety of beans, but certain profiles really shine.
I love experimenting with single-origin beans, especially light to medium roasts, which let the natural flavors take center stage.
| Origin | Flavor Profile |
|---|---|
| Ethiopia | Floral, fruity, and complex |
| Colombia | Nutty, chocolatey, with balanced acidity |
| Kenya | Bold, berry-forward, with a bright acidity |
Freshly roasted beans always deliver the best flavors, so I recommend sourcing from local roasters or online specialty shops.
Play around with different origins and roasts to find your perfect match.
By following these tips and experimenting with your Hario V60, you'll be brewing café-quality coffee at home in no time.
For more insights and recipes, be sure to explore our Hario V60 recipe collection and check out how the V60 compares to the Chemex in our V60 vs Chemex guide.


