↳ may contain affiliate links — disclosure
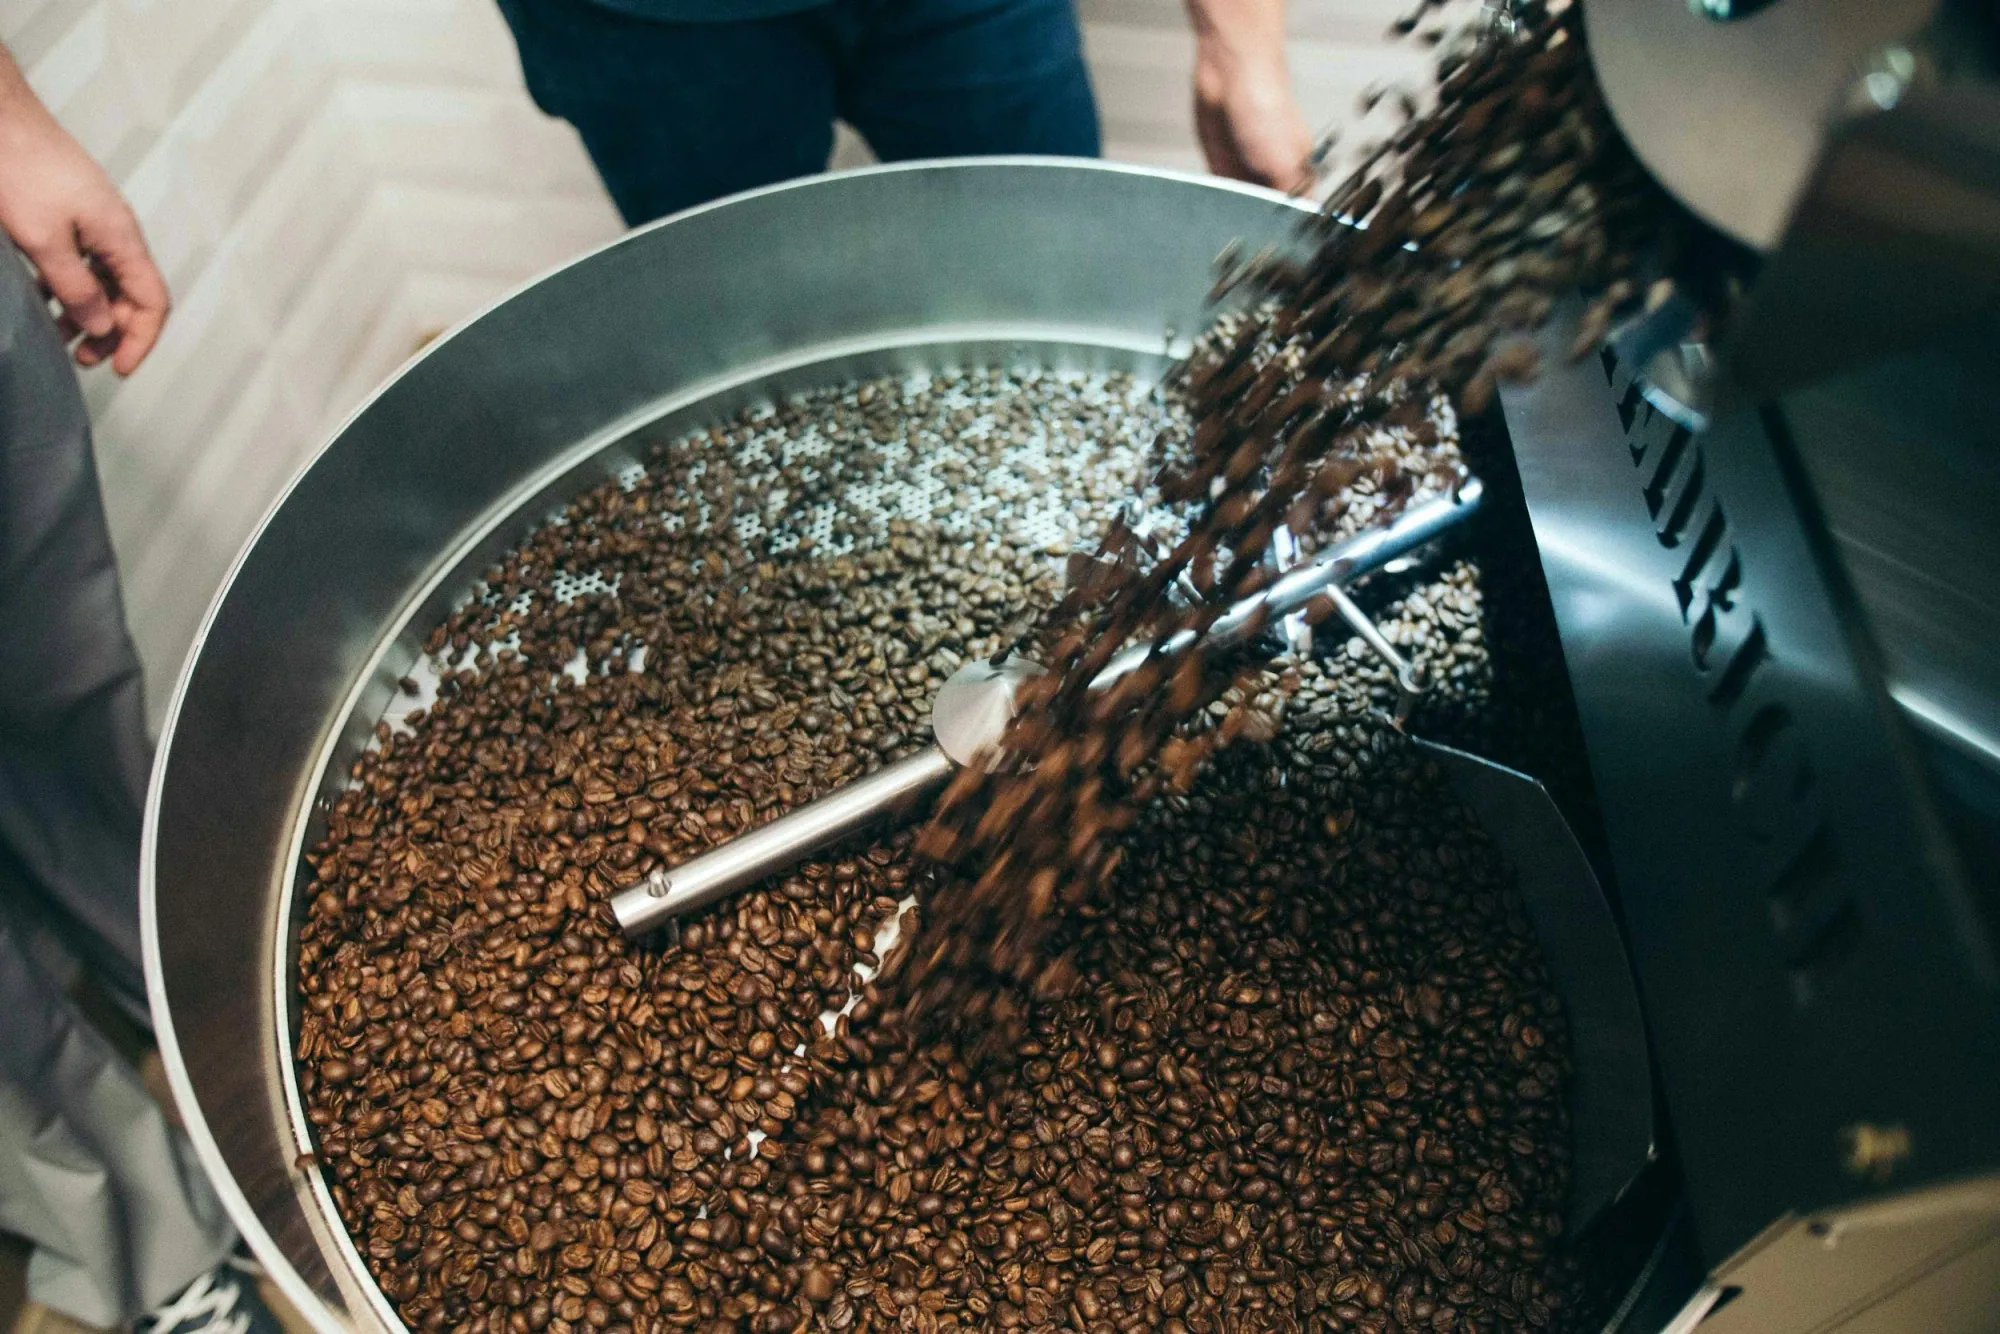
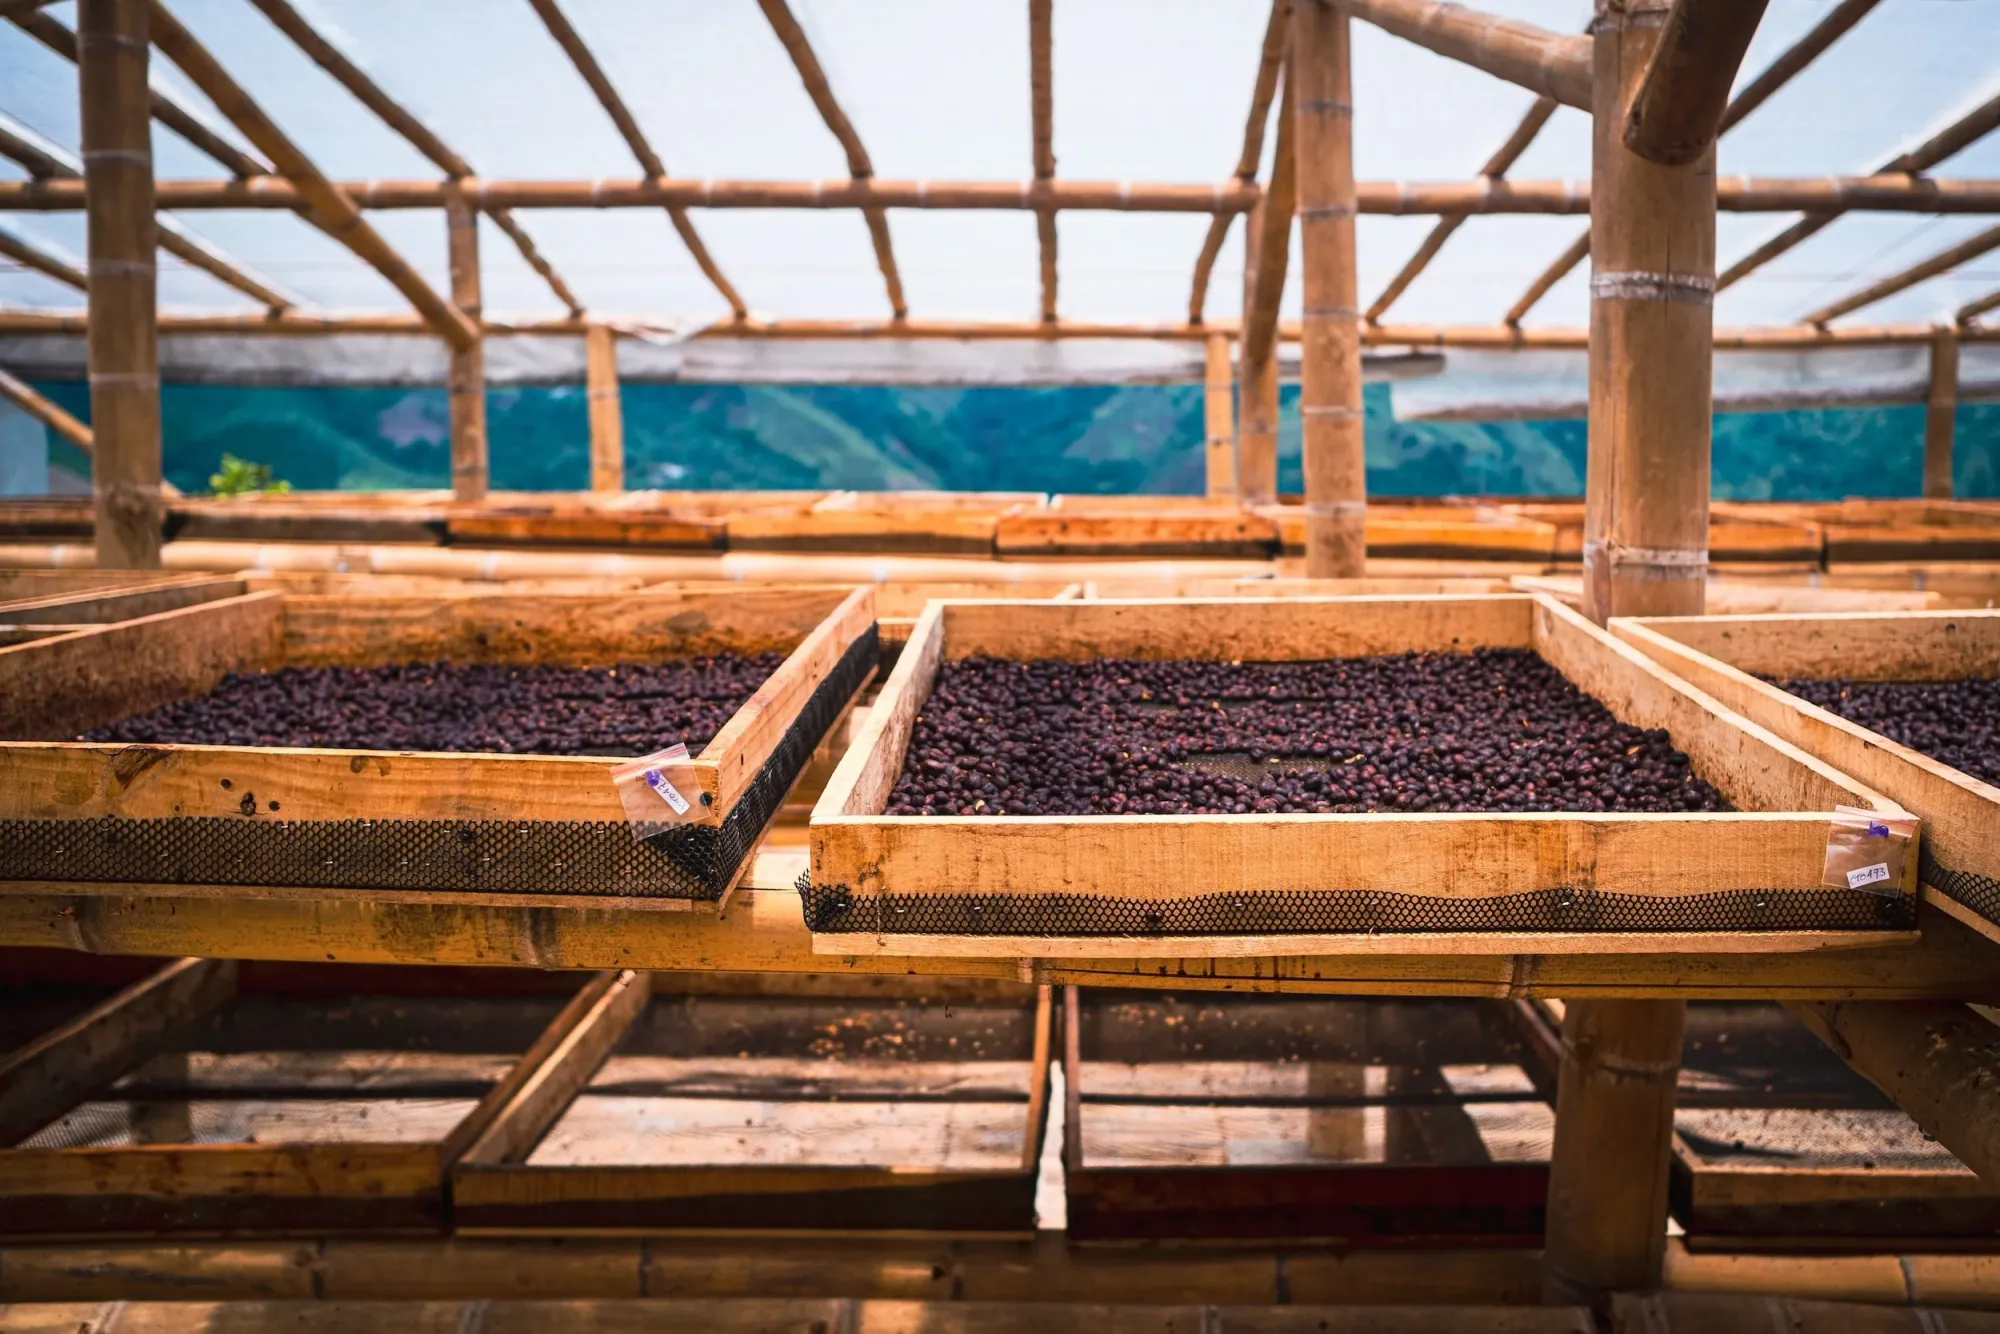
Photo by @battlecreekcoffeeroasters
The smell of freshly roasted coffee beans swirling through your kitchen, that deep, earthy aroma that makes you instantly want to brew a cup.
What if you could create that experience right in your own home, customizing the roast to perfectly match your tastes?
Well, you can.
Home coffee roasting is not just for pros or coffee shops; with a little bit of patience and the right tools, it’s something anyone can master.
And the best part?
You’ll never settle for stale, pre-roasted beans again.
Let’s delve into how you can start roasting your own beans, the equipment you’ll need, and the techniques to get that perfect roast—whether you love it light, medium, or bold and dark.
Why Roast Your Own Coffee?
Before we get into the “how,” let’s talk about the “why.”
Freshly roasted coffee is on a completely different level compared to pre-packaged beans.
Coffee starts to lose its freshness and flavor about a week after roasting, with aromatic compounds quickly breaking down.
By the time you pick up a bag from the store, chances are it’s already past its prime.
Roasting at home gives you control over freshness, flavor profiles, and roast levels.
And if you’re a bit of a coffee geek (like me), it’s also just plain fun to experiment.
What You’ll Need to Get Started
Roasting coffee at home doesn’t require a fancy setup, but there are a few essential tools you’ll need. Here’s what to consider:
-
Green Coffee Beans
Green coffee beans are unroasted and shelf-stable for months, if not years. These are your starting point, and there are endless varieties you can explore—from fruity Ethiopian beans to chocolatey Brazilian varieties. The key is experimenting with different origins until you find what excites your palate. -
A Coffee Roaster (or an Alternative Method)
You don’t need a professional-grade coffee roaster to get started. Many home roasters begin with simple tools they already have in their kitchens. Here are a few options:- Dedicated Coffee Roasters: These are designed specifically for roasting beans. Brands like FreshRoast or Behmor offer electric roasters with controls for temperature and roasting time. They’re convenient but can be a bit of an investment.
- Popcorn Popper: A hot-air popcorn popper is one of the most popular DIY options. It roasts beans quickly, and with some tweaks, it can give you consistent results.
- Stovetop or Oven Roasting: Using a skillet or a baking sheet in the oven is another method, but these require more manual involvement to keep the roast even. You’ll need to stir or shake the beans constantly to avoid burning.
-
A Good Thermometer
Roasting coffee is all about controlling temperature, and having a thermometer handy can help you nail the exact roast level you want. You’ll typically want to aim for temperatures between 350°F and 450°F (177°C to 232°C), depending on your roast preference. -
A Ventilated Area
Roasting coffee generates smoke, especially as you move into darker roasts. The breakdown of oils and sugars in the beans during roasting leads to this smoke, so make sure you’re in a well-ventilated space. -
Cooling Equipment
After roasting, coffee beans need to be cooled quickly to stop the roasting process. A simple metal colander or a baking tray works perfectly. Spread the beans out, give them a shake, and let them cool.
Roasting Times and Achieving Different Roast Levels
The key to mastering coffee roasting lies in controlling the roast level—whether you love a light, fruity flavor or a deep, dark richness.
Roasting times and temperatures vary depending on how far you want to take the roast. Let’s break it down:
Light Roast: Bright and Fruity
- Temperature: 356°F to 401°F (180°C to 205°C)
- Time: 7-9 minutes (depending on your method)
This is the lightest roast level, where the beans are barely past their first crack.
At this stage, you’ll get bright acidity and pronounced fruity or floral flavors.
The beans will be pale brown, and you won’t see any oil on their surface.
Medium Roast: Balanced and Sweet
- Temperature: 410°F to 428°F (210°C to 220°C)
- Time: 10-12 minutes
A medium roast hits the sweet spot for many coffee lovers.
At this point, the beans have passed the first crack but haven’t reached the second.
You’ll start tasting more caramelized sugars, balanced acidity, and a fuller body. If you like that classic, well-rounded coffee flavor, medium is your go-to.
Dark Roast: Bold and Intense
- Temperature: 437°F to 482°F (225°C to 250°C)
- Time: 12-15 minutes
Dark roasts go beyond the second crack, giving you deep, smoky, and bittersweet flavors.
The beans will be a dark brown, sometimes almost black, and have a shiny, oily surface.
While some of the bean’s origin flavors are muted, a bold, rich intensity takes center stage.
The Process: Step-by-Step Roasting Guide
Here’s a quick rundown of how you can roast coffee at home:
- Preheat your roaster or alternative method to the desired temperature, depending on your roast level.
- Add your green beans (start small, around 1/2 cup for a popcorn popper).
- Monitor the roast: Listen for the first crack (around 7-10 minutes), which signals the start of the light roast. If you’re aiming for a medium or dark roast, let the beans continue roasting until the second crack (around 12-15 minutes).
- Cool the beans quickly to stop the roasting process by spreading them out in a metal colander or tray.
- Rest the beans for 24 to 48 hours. Coffee is best after a day or two of rest, which allows the flavors to fully develop.
- Brew and enjoy! The best part: grinding your freshly roasted beans and enjoying a cup made exactly to your liking.
Tips for Experimenting
Roasting coffee is an art, and your first batch might not be perfect, but that’s part of the journey. Here are a few tips to help you refine your technique:
- Keep a Roasting Journal: Track each batch’s temperature, time, and the roast level achieved. This will help you repeat successes and learn from your experiments.
- Test Different Beans: Try beans from different regions and notice how roasting times or temperatures affect flavor. African beans tend to be more fruity and bright, while Central and South American beans offer more chocolate and nutty notes.
- Play with Blends: Once you’ve mastered single-origin beans, try creating your own blends. Roasting different beans separately and then blending them afterward can lead to a unique and complex cup of coffee.
Wrapping It Up
Roasting coffee at home isn’t just about saving money or ensuring freshness—it’s about taking control of your coffee experience.
It adds a layer of personalization that’s hard to beat, and the process itself is deeply satisfying.
Whether you’re roasting in a popcorn popper or a dedicated machine, the magic happens in those few transformative minutes when the beans go from green to golden to deep brown.
So why not give it a try? You just might find your new favorite hobby—and the best cup of coffee you’ve ever had, all roasted by you.
Reference
- Farm & Forest Organic Coffee Roasting Tips
- Weaver’s Coffee on Coffee Freshness
- Coffee Bros. Freshness Guide
- Roast Love on Coffee Degassing
Related Posts

What is the Anaerobic Coffee Process?
Discover the meaning of anaerobic coffee and explore double anaerobic, washed, and natural processes. Learn how fermentation impacts flavor and what sets this method apart.
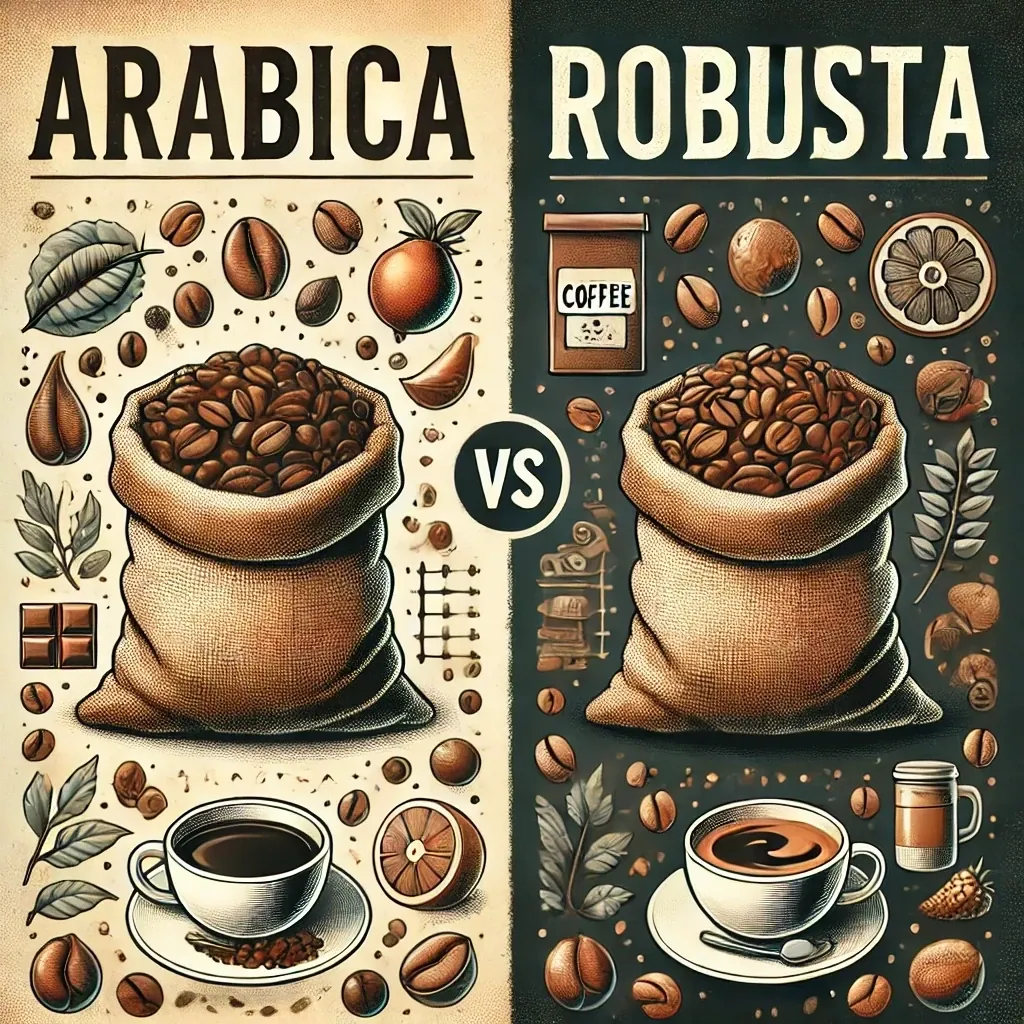
Arabica vs. Robusta Coffee Beans: Key Differences Explained
Discover the key differences between Arabica and Robusta coffee beans, from flavor and caffeine content to growing conditions and market share.
Third-Wave Coffee: A Deep Dive into the Artisanal Movement
Third-wave coffee, an artisanal movement focused on quality, sustainability, and innovation. Learn how it’s reshaping the way we brew, source, and enjoy coffee.