↳ may contain affiliate links — disclosure

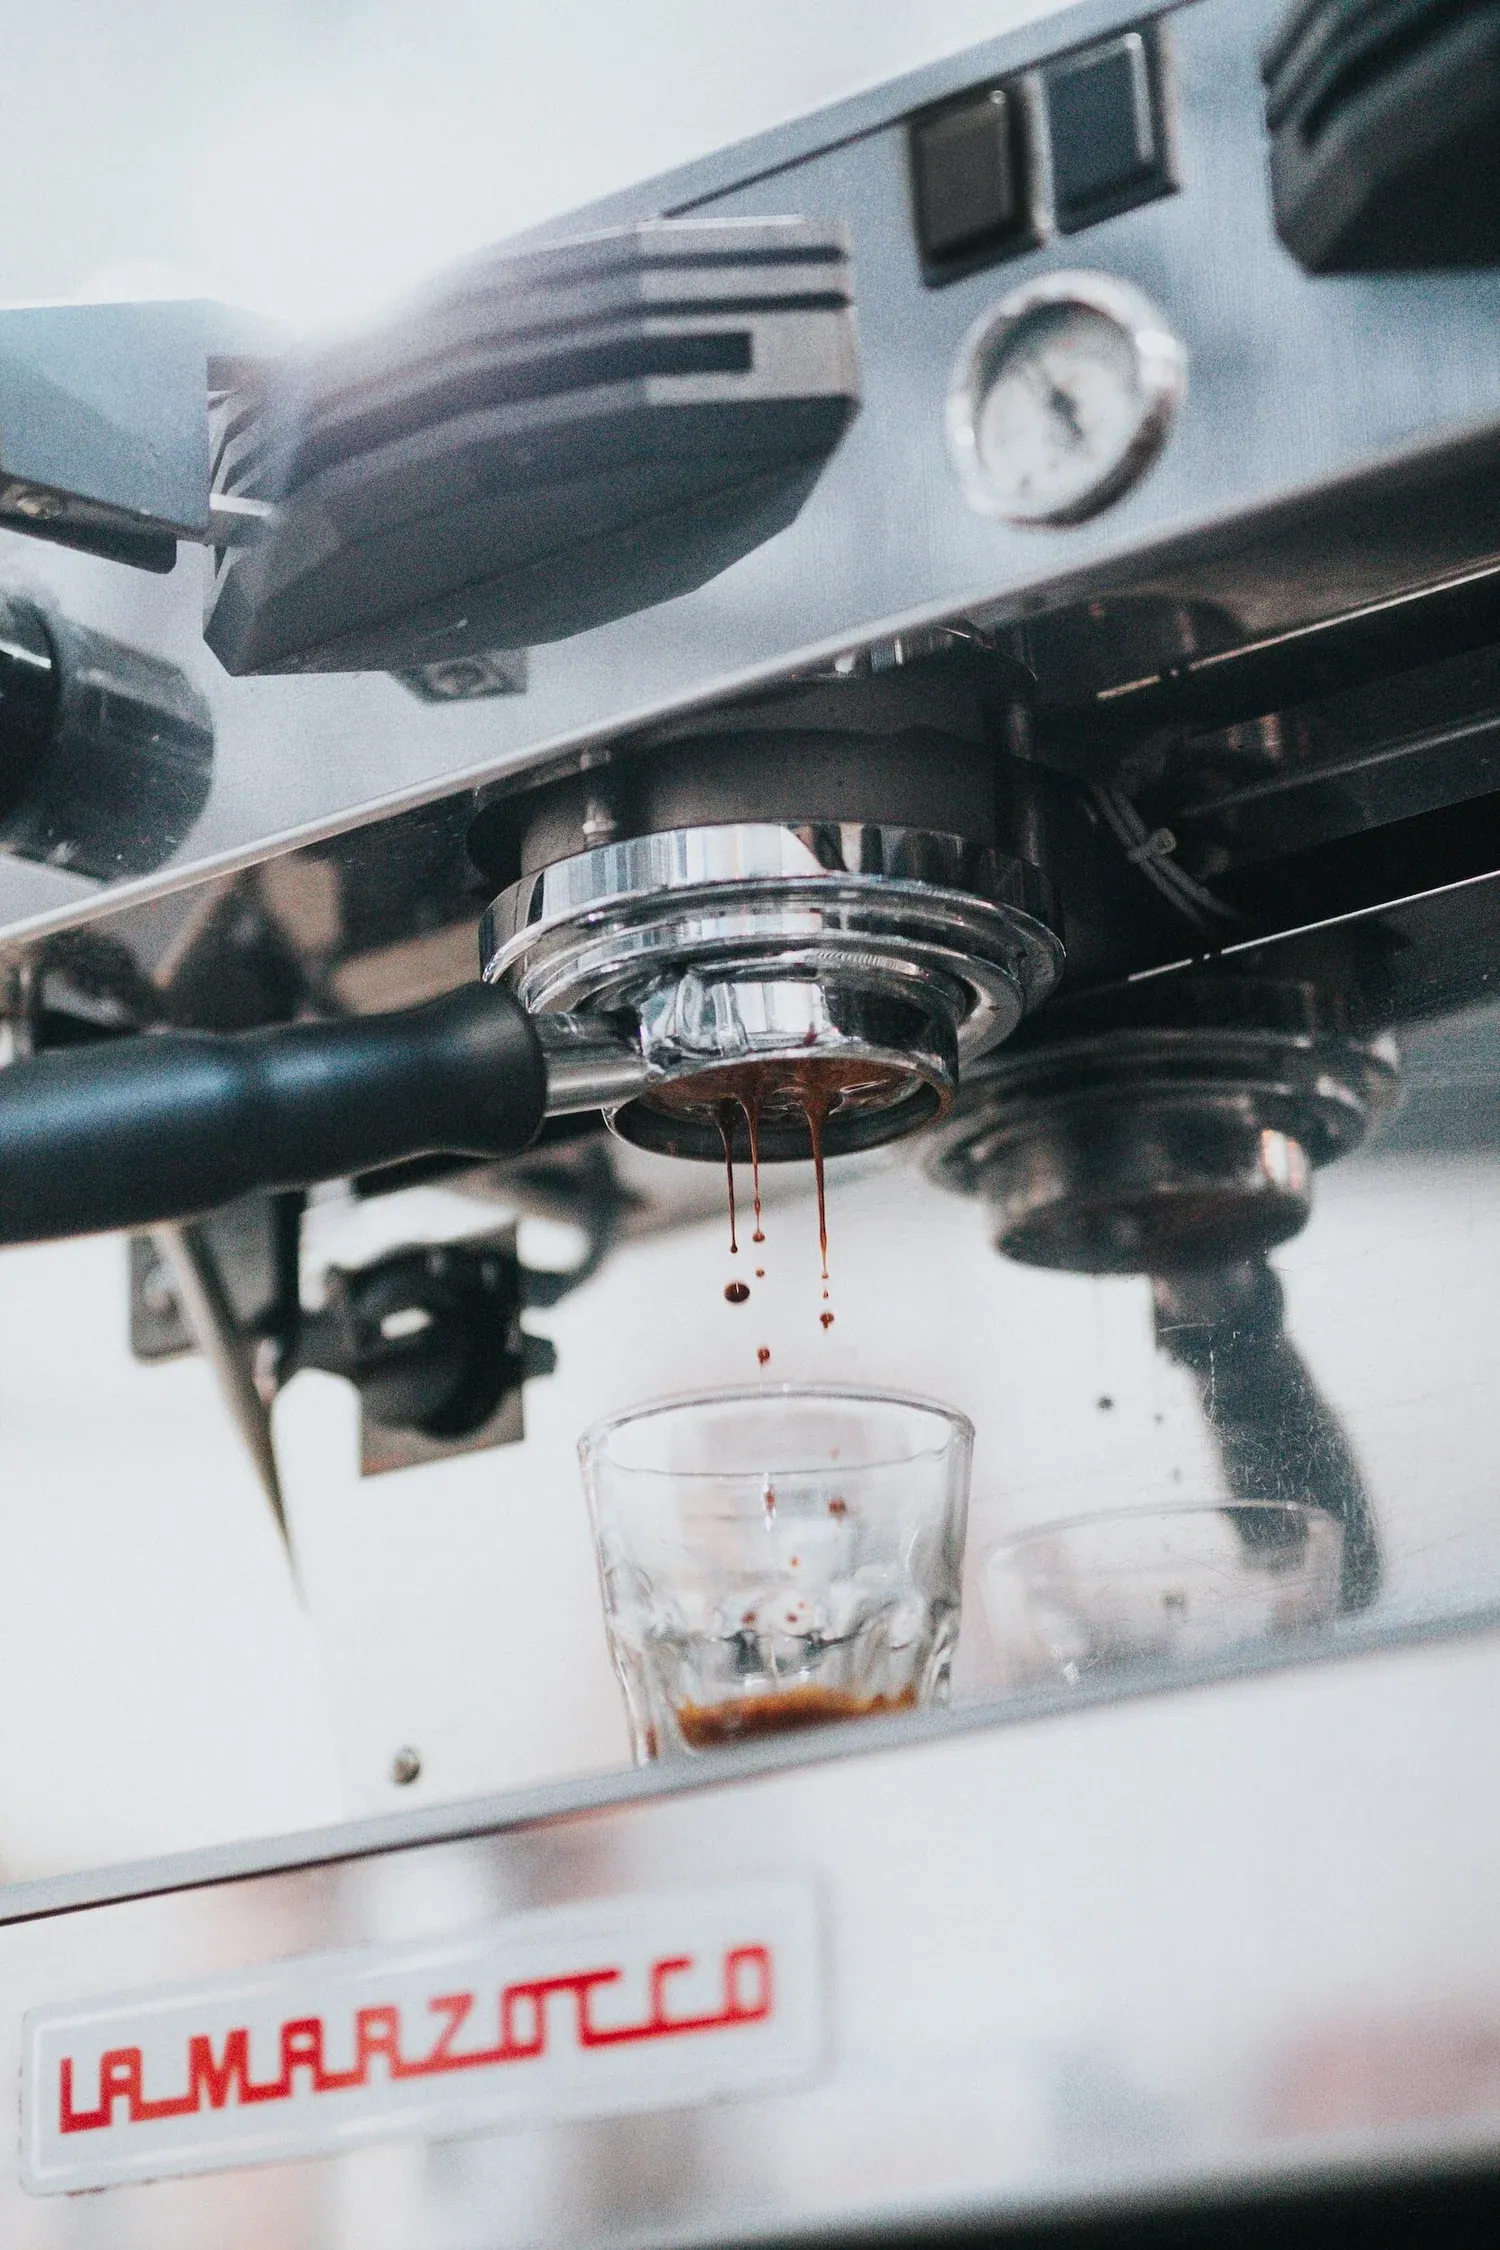
Photo by @jackhishmeh
Struggling to get that barista-worthy froth at home?
The kind that’s so silky smooth, it practically melts into your coffee?
You might think you need an expensive machine, but that’s a myth.
Believe it or not, you can create luscious, café-style foam with tools you probably already have in your kitchen.
Whether it’s a steam wand, a simple manual frother, or even a jar, there’s a method that can give you the perfect milk texture—no matter what kind of coffee you’re making.
And it’s not just the tool that matters.
The milk you use plays a starring role in the frothing process.
So let’s talk about milk frothing, exploring the tools and techniques that can turn your homemade coffee into a café-level masterpiece.
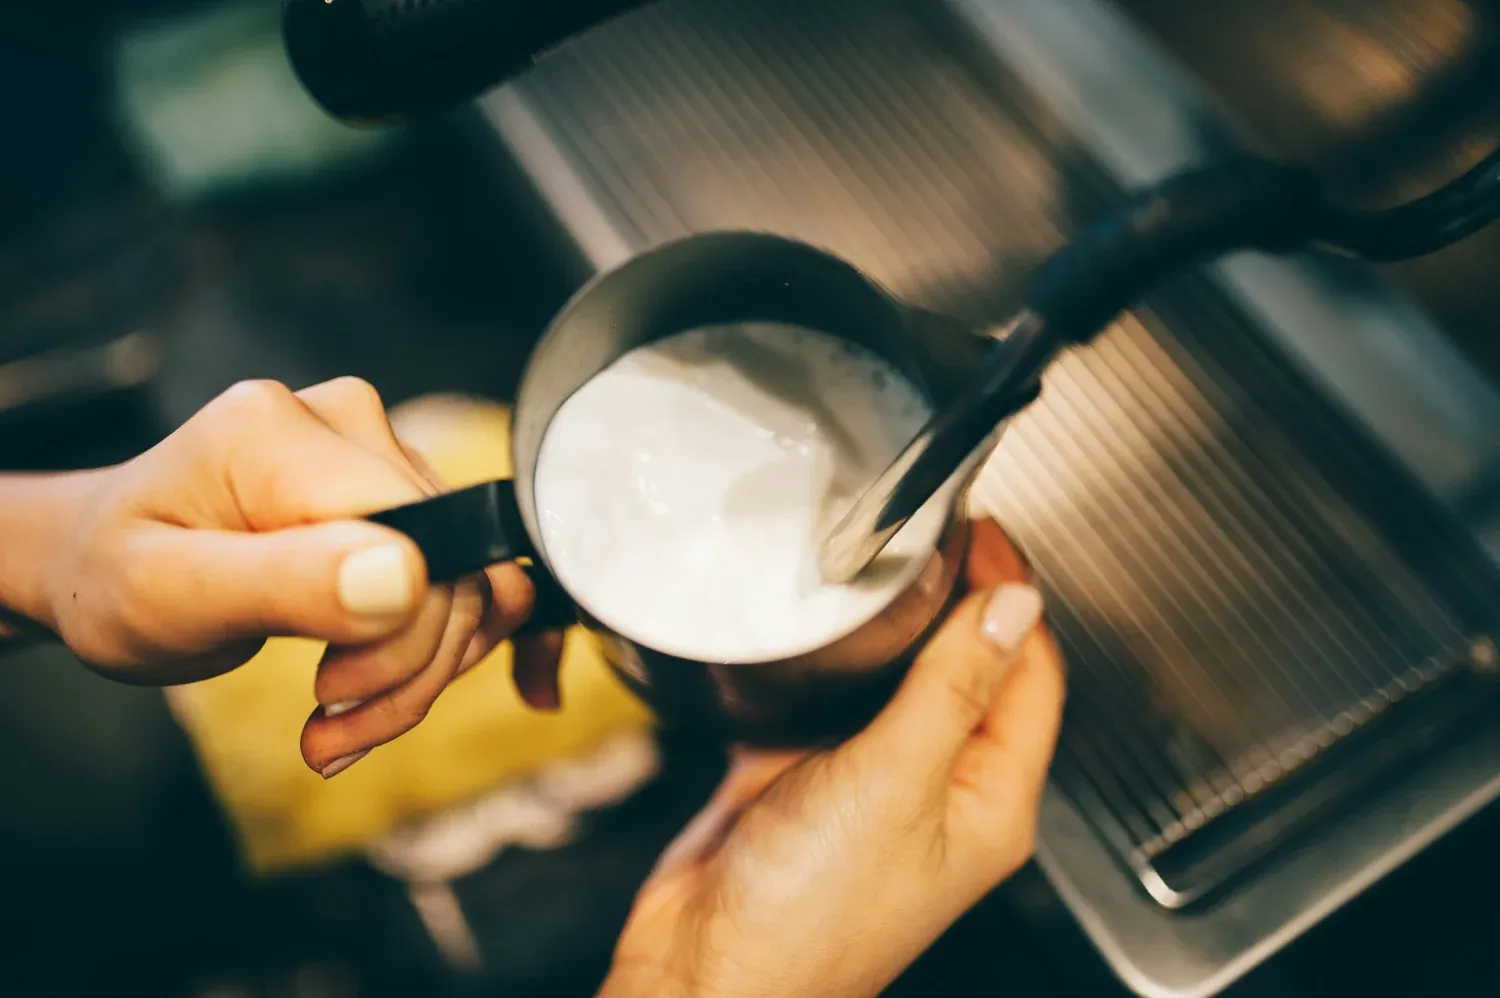
The Steam Wand: The Gold Standard of Frothing
Let me take you back to the first time I used a steam wand.
I’d just gotten my shiny new espresso machine, and I was sure I could whip up the perfect latte in minutes.
Spoiler alert: I was wrong. The milk either turned into a scorching hot, bubbly mess or just sat there, refusing to froth.
It took some time, but once I cracked the code, I realized why baristas swear by it.
How to Froth Milk with a Steam Wand:
- Start Cold: Fill your pitcher a third of the way with cold milk (and I mean cold). This gives you more time to froth before the milk overheats.
- Submerge the Wand: Place the tip of the wand just below the milk’s surface and turn on the steam. The hissing sound? That’s air getting incorporated into the milk. If you hear screeching, the wand’s too far in or out!
- Find the Swirl: Once you’ve incorporated enough air, raise the pitcher to submerge the wand fully and create a vortex. This distributes heat evenly and creates that silky texture.
- Perfect Temperature: Aim for between 140°F and 150°F—hot but not boiling. Once it feels warm to your touch (or hot on the side of the pitcher), you’re there.
Why It Works: A steam wand gives you total control over both air and heat, letting you create fine, uniform microfoam—perfect for that creamy latte or intricate latte art. It’s the ultimate tool for frothing, but don’t worry if you don’t have one. There are plenty of other ways to froth your milk.
Manual Milk Frothers: Affordable and Effective
Let me tell you about the time I thought manual frothers were just a gimmick.
My friend swore by hers, but I couldn’t see how pumping a little plunger up and down would give you anything close to professional-grade foam.
Turns out, I was wrong—again. Manual frothers might not give you silky microfoam, but they’re incredibly effective for everyday coffee.
How to Use a Manual Frother:
- Heat the Milk First: You’ll want to heat your milk before frothing since this tool doesn’t add heat. Warm it to about 140°F—hot enough to be steamy, but not boiling.
- Pump it Up: Pour the milk into the frother, filling no more than halfway. Pump the handle up and down rapidly for about 30 seconds. Watch as the milk doubles in volume and transforms into a frothy delight.
- Check the Foam: You’ll end up with a thicker, more bubbly foam than what you’d get from a steam wand, but it’s perfect for cappuccinos or a rich macchiato.
Why It Works: Manual frothers whip air into the milk through sheer force. It’s not as refined as a steam wand, but it gets the job done for a fraction of the cost. If you’re looking for thick, frothy foam without breaking the bank, this is your tool.
Handheld Frothers: Convenience in a Flash
There’s something undeniably convenient about handheld frothers.
Imagine it’s a busy morning, you’re running late, and all you want is a quick cup of coffee with a nice, frothy top.
That’s where these little gadgets shine.
They won’t give you silky-smooth microfoam, but they’re fantastic for fast, foamy milk.
How to Froth Milk with a Handheld Frother:
- Warm the Milk: Like manual frothers, handheld frothers don’t heat the milk, so start by warming it to around 140°F.
- Whisk Away: Submerge the frother’s whisk into your cup of milk and turn it on. Move the frother up and down to aerate the milk, creating foam in about 20-30 seconds.
- Perfect for Quick Drinks: Handheld frothers produce light, airy foam, perfect for cappuccinos or topping off a hot (or iced) latte when you’re in a rush.
Why It Works: Handheld frothers are fast, portable, and easy to use. They’re perfect for quick, frothy drinks, even if the foam isn’t as fine as what you’d get with a steam wand or manual frother.
The Mason Jar Hack: No Fancy Tools Needed
Here’s a secret for you: you can froth milk with nothing but a jar and some elbow grease.
When I first heard about this trick, I didn’t believe it either.
But in a pinch—or if you’re just starting out—this method works surprisingly well.
How to Froth Milk in a Jar:
- Heat the Milk: Warm your milk just as you would with the other methods. You want it steamy but not scalding.
- Shake it Like You Mean It: Pour the milk into the jar, filling it halfway. Screw the lid on tightly and shake it as hard as you can for about 30-60 seconds. Yes, it’s a workout, but it’s worth it!
- Foam Up: The milk will foam up and double in size, though the bubbles will be larger and more delicate. It’s not the creamiest foam, but it’s a budget-friendly hack when you’re craving froth.
Why It Works: Shaking vigorously introduces air into the milk, creating foam without the need for any fancy gadgets. It’s not perfect, but if you’re looking for a quick, simple solution, this hack will do the trick.
Milk Matters: How Different Types Affect Frothing
When I first switched to oat milk, I thought it would froth just like regular dairy.
Let’s just say, I was in for a surprise.
The milk you choose has a huge impact on your foam, and understanding why can help you pick the best one for your coffee.
- Whole Milk: This is your go-to if you want rich, creamy foam. The high fat content creates thick, stable foam that’s perfect for lattes or cappuccinos.
- Skim Milk: Froths easily and creates light, airy foam. If you prefer something less heavy but still want a decent froth, skim milk is a solid choice.
- Oat Milk: Surprisingly good for frothing, especially the “barista blend” versions. It has a creamy consistency similar to dairy milk, which helps it hold foam better than other plant-based options.
- Almond Milk: Tricky but doable. Almond milk’s lower fat content can make it difficult to froth, but with a good barista blend, you can achieve a decent foam.
- Soy Milk: A reliable alternative, soy milk froths up nicely and holds its texture well, making it a solid choice for dairy-free coffee lovers.
Final Thoughts: Frothing for Every Coffee Lover
Here’s the bottom line—frothing milk at home doesn’t have to be complicated or expensive.
Whether you’re using a high-end steam wand or shaking a mason jar like your life depends on it, you can create creamy, frothy milk that takes your coffee from good to amazing.
Grab your milk of choice, pick your frothing tool, and give it a shot.
There’s nothing more satisfying than topping off your homemade coffee with a perfect layer of foam.
Related Posts
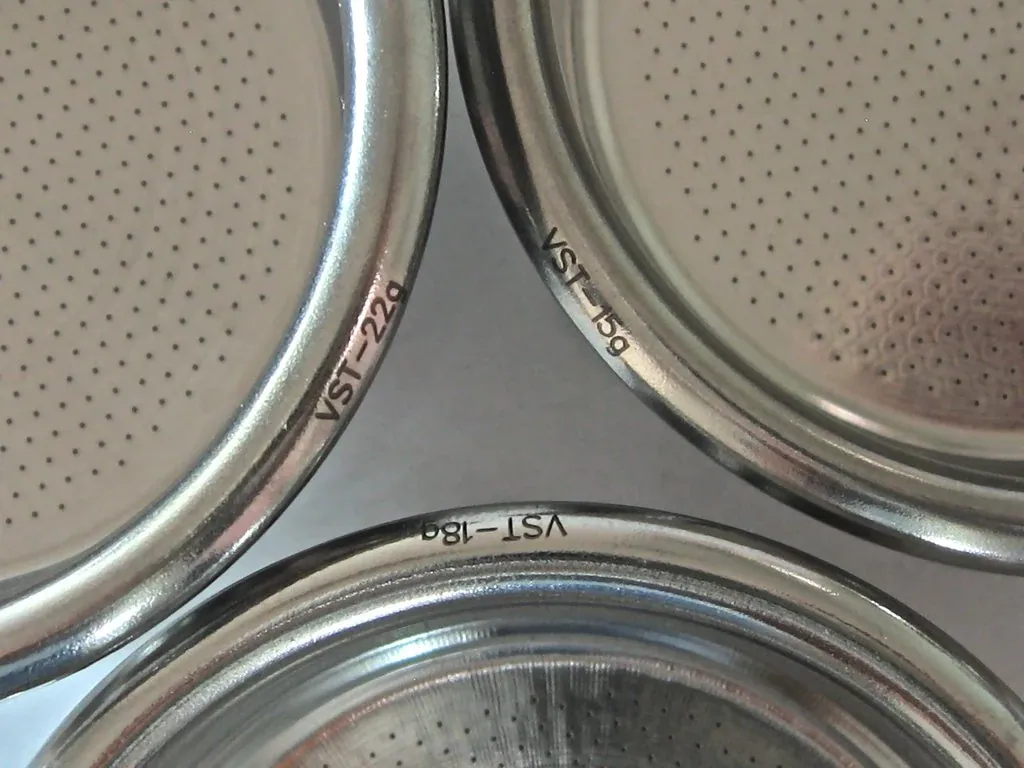
What is a VST Precision Basket?
Uncover the secrets of VST Precision Baskets and how they can transform your espresso experience. Learn about their benefits, differences from standard baskets, and how to choose the right one for your setup. Elevate your espresso game today!
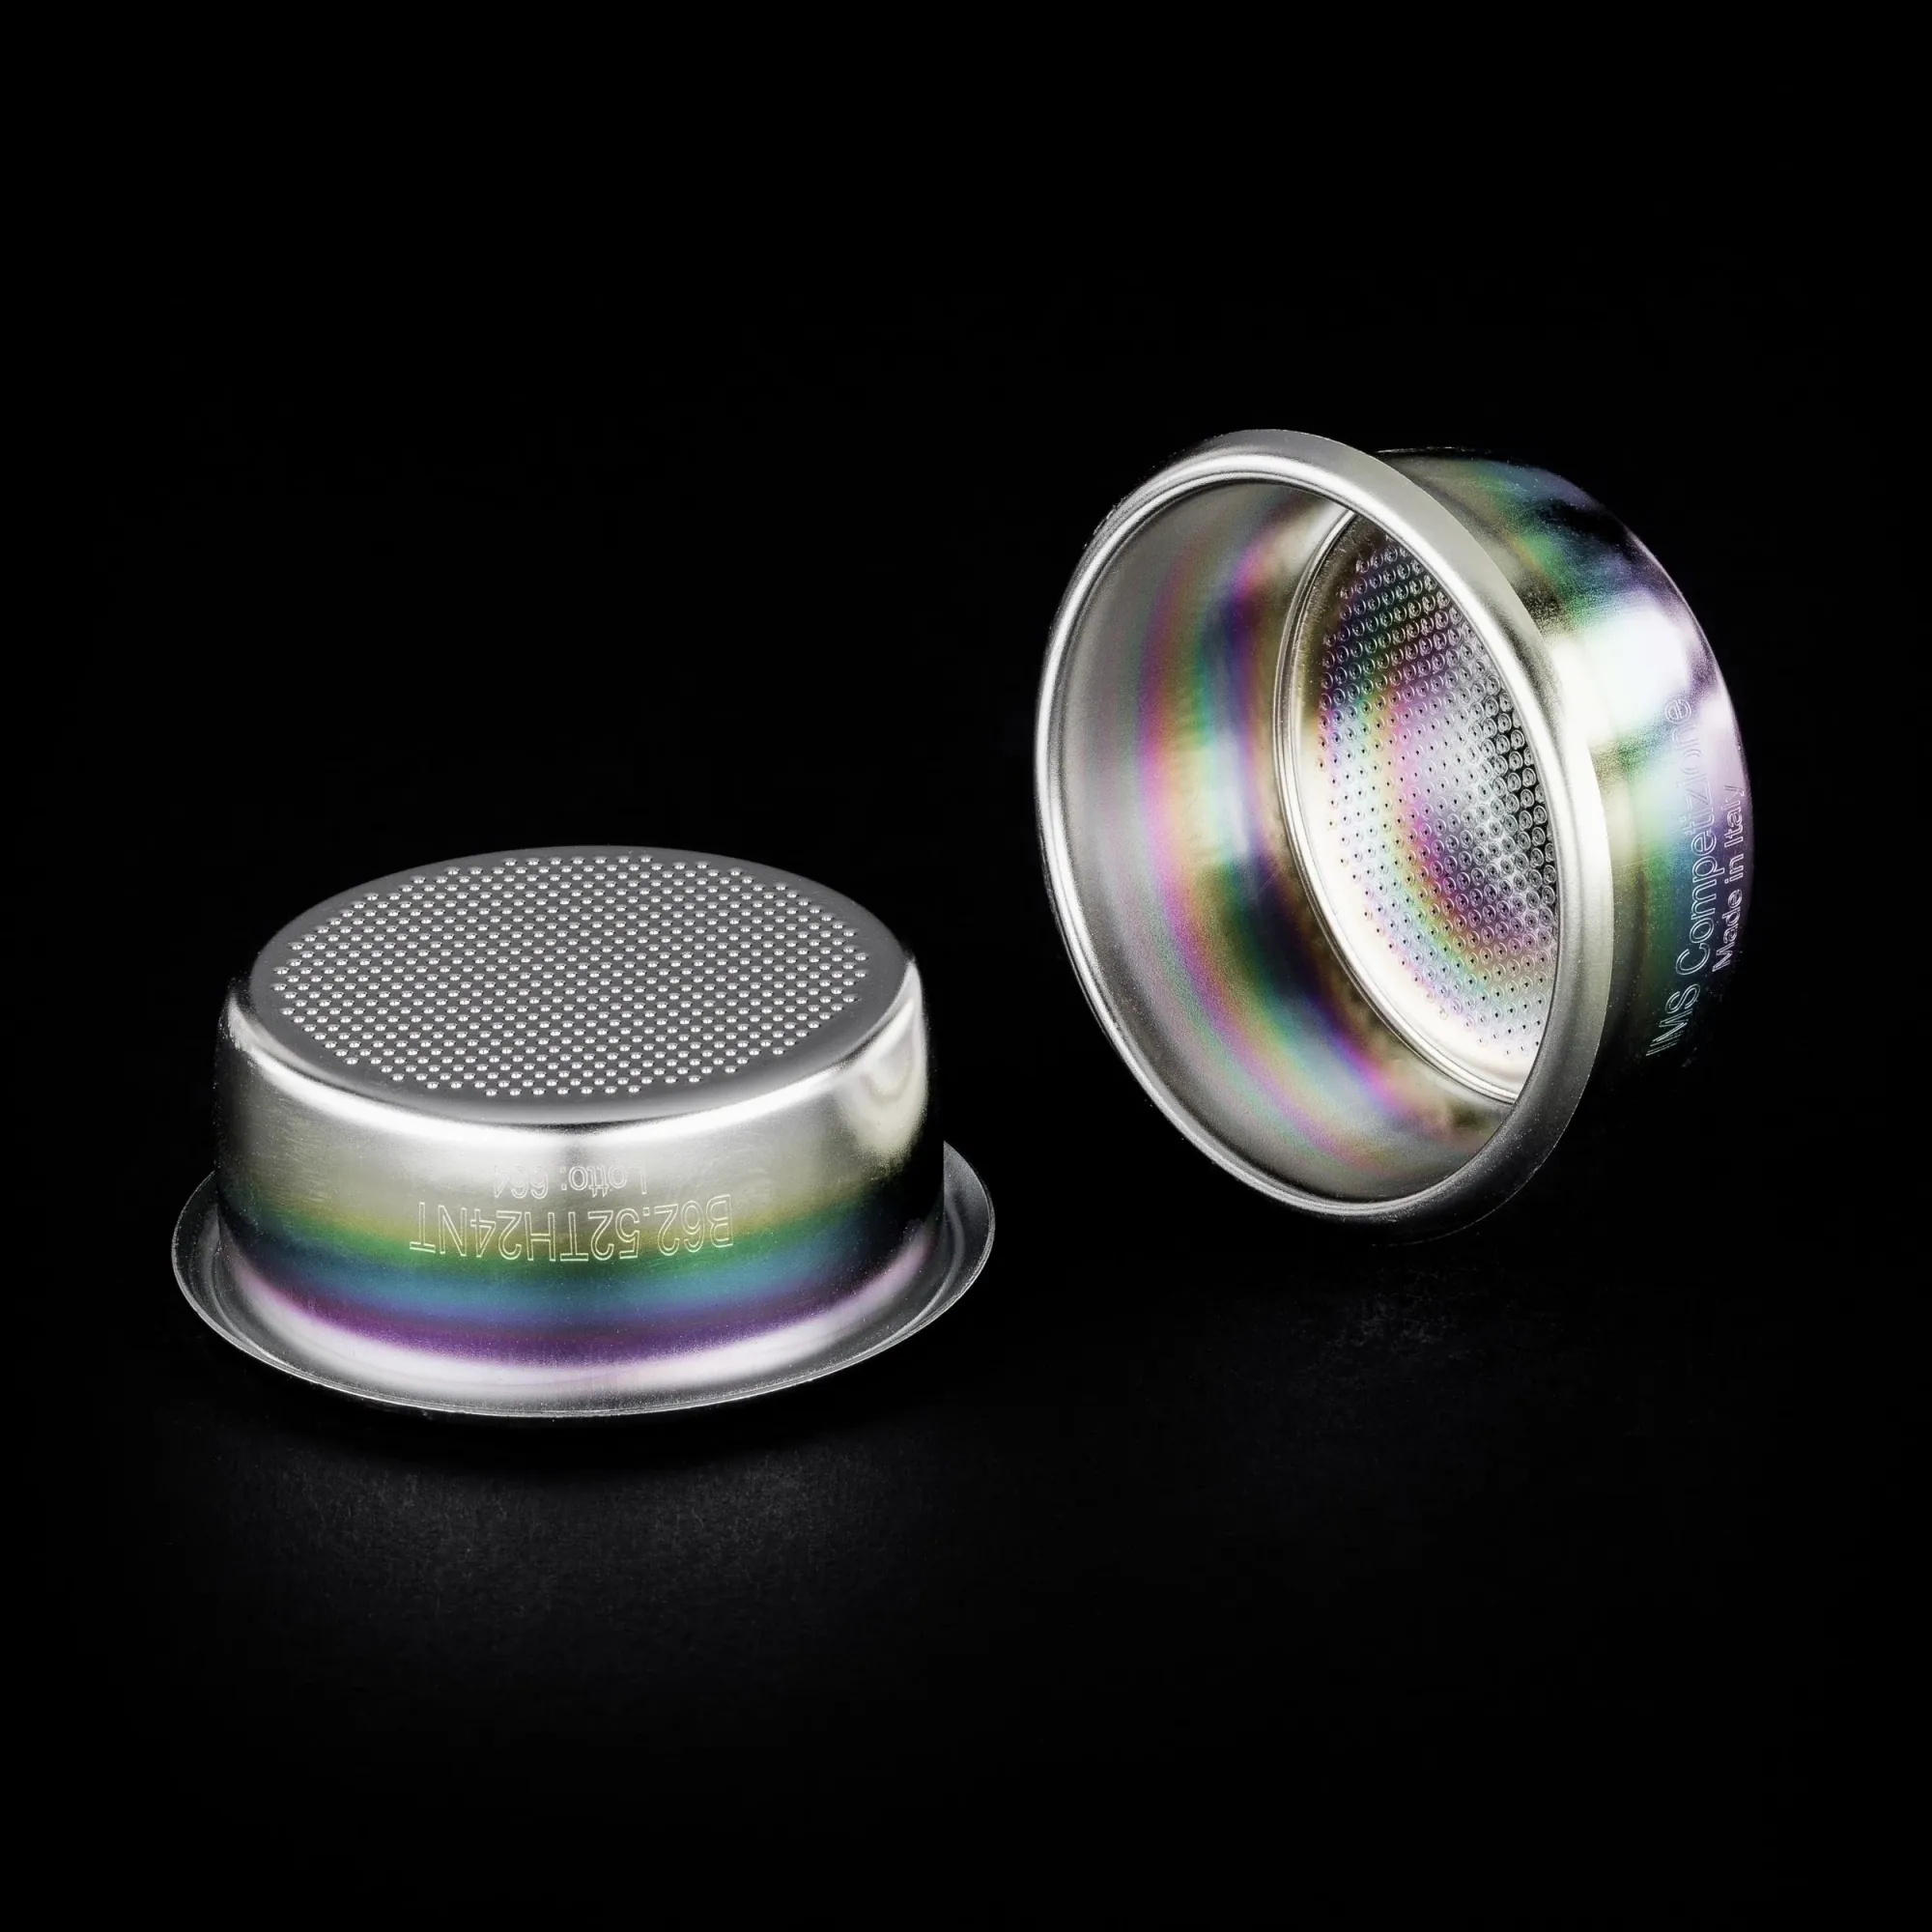
What is an IMS Espresso Filter Basket?
Upgrade your espresso game with IMS Espresso Baskets. Discover the benefits, types, and maintenance tips of using IMS Espresso Baskets for better flavor and consistency. Learn what an IMS Basket Espresso is and how it can enhance your coffee experience.

How Do I Stop My Bottomless Portafilter From Spitting?
Discover the causes of portafilter squirting and espresso spraying, and learn how to prevent them with our expert tips for achieving a smooth, flawless extraction every time. Say goodbye to messy espresso shots!